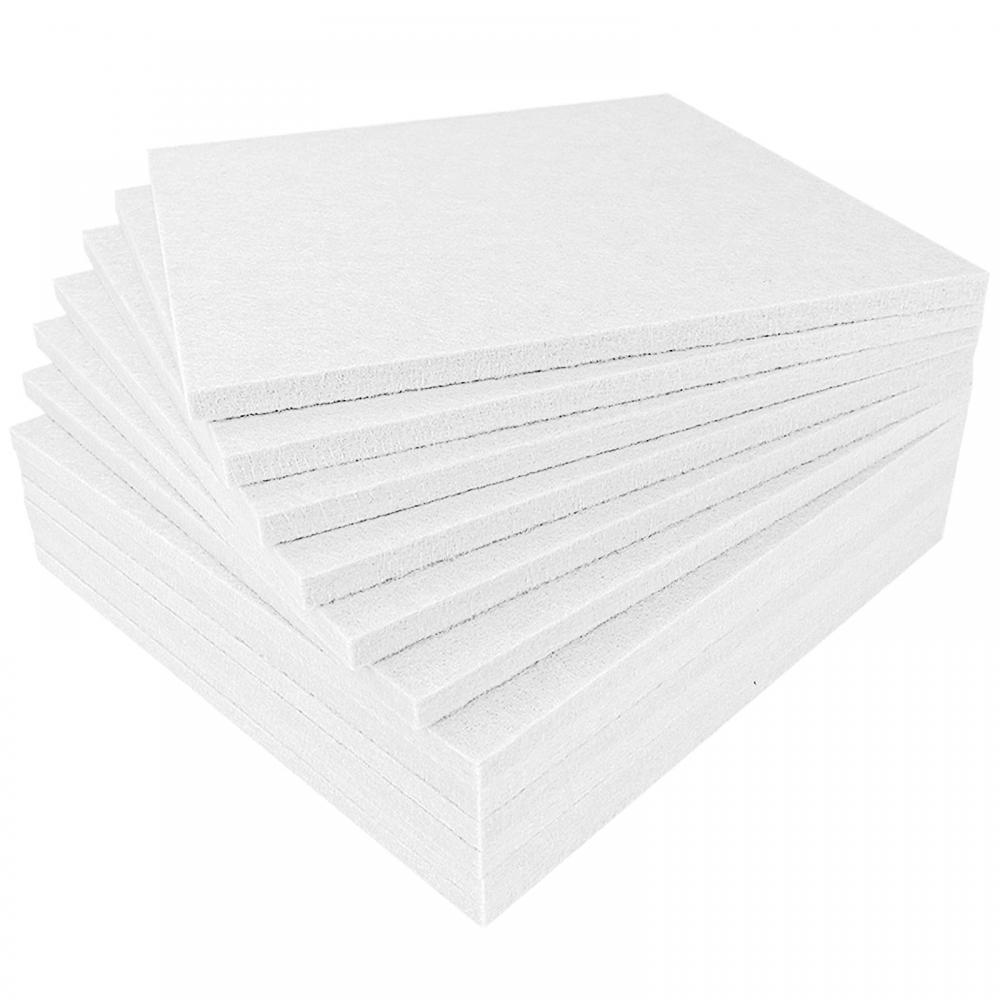
When installing PET acoustic panels, also known as 3D acoustic panels or polyester acoustic panels, achieving a smooth and even surface is essential for both aesthetic and functional reasons. However, in many buildings, especially older structures, walls may not be perfectly straight or flat. Uneven walls can create challenges during installation, but with the right approach, these issues can be easily addressed to ensure that your acoustic panels are properly aligned and secure. Here's a guide on how to handle uneven walls when installing PET acoustic panels.
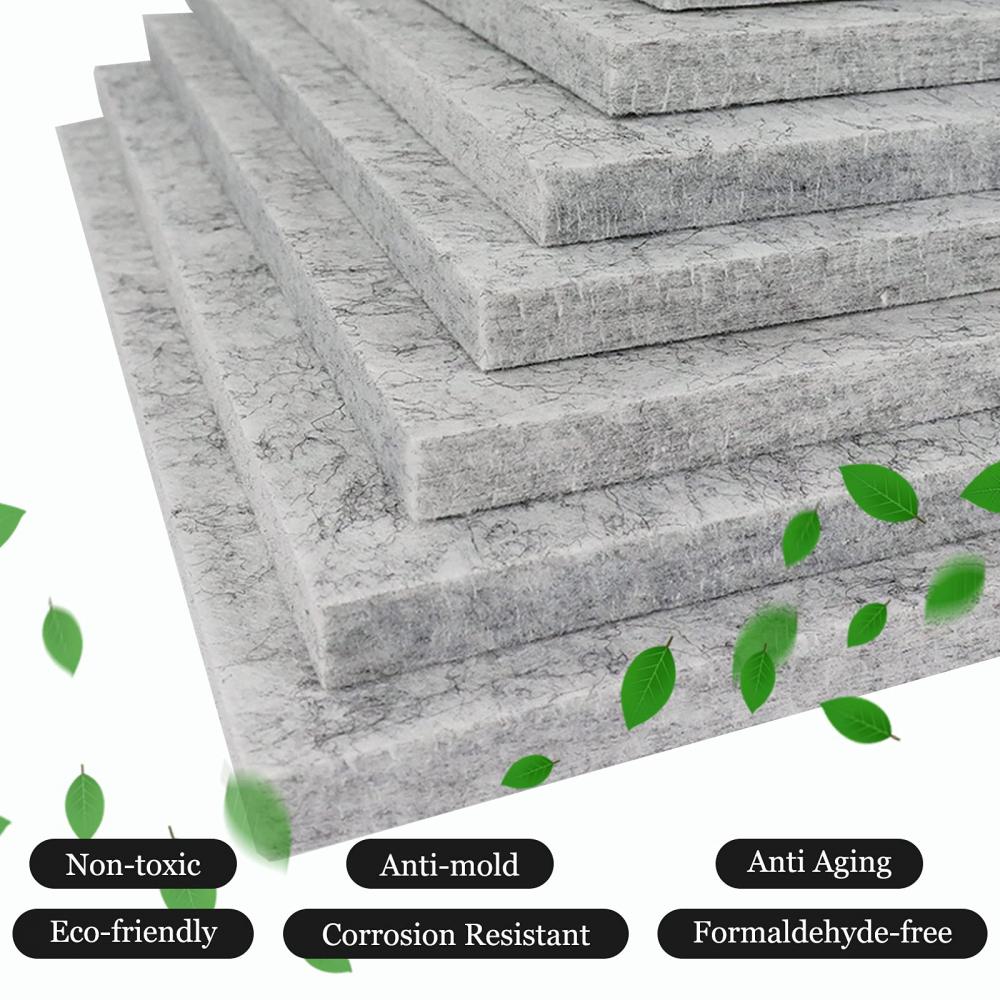
1. Assess the Wall Condition Before Installation
Before beginning the installation of 3D acoustic panels or polyester acoustic panels, it’s important to assess the condition of the wall. Check for any noticeable dips, bulges, or irregularities. This can be done using a spirit level or a laser level, which will help you identify areas where the wall deviates from being flat. Once you have a clear understanding of the extent of the unevenness, you can plan the appropriate solutions.
2. Use Spacers or Shims for Adjustment
If the wall has minor unevenness, spacers or shims can be used behind the PET acoustic panels to create a more uniform surface. These small inserts are placed between the wall and the back of the panel to compensate for the uneven areas. By adjusting the thickness of the spacers, you can ensure that the panel sits flush against the wall, improving both the aesthetic appearance and the panel’s acoustic performance.
- How to use spacers: Attach the spacers to the wall where the surface is uneven. Ensure they are securely fixed in place before mounting the polyester acoustic panels.
- Shims for larger gaps: If the unevenness is more pronounced, you may need thicker shims or custom-cut spacers to fill in larger gaps.
3. Apply a Leveling Compound to Fill Larger Irregularities
For walls with more significant imperfections, such as deep cracks or large dips, a leveling compound (also known as wall filler or spackling compound) may be necessary. This compound can be applied to the uneven sections of the wall to create a smoother surface. Once applied, allow the compound to dry completely before sanding it down to a flat finish.
- How to apply: Spread the compound evenly over the uneven areas with a drywall knife or putty knife. After the compound dries, use a sanding block or electric sander to smooth out the surface. Once the wall is flat, it will provide a more stable base for your PET acoustic panels.
4. Use Adhesive for a More Flexible Installation
If you’re installing 3D acoustic panels or polyester acoustic panels without drilling into the wall, you can use a strong adhesive that allows some flexibility in accommodating minor wall imperfections. Some adhesives are specifically designed to bond acoustic panels securely to slightly uneven surfaces without compromising the strength of the installation.
- Adhesive for minor irregularities: If the wall has slight variations, high-strength adhesive can conform to the surface, allowing you to install the panels without worrying about minor undulations.
5. Consider Mounting on a Grid System or Battens
For larger or more pronounced uneven areas, installing PET acoustic panels on a grid system or wooden battens can help create a level mounting surface. The grid system is mounted onto the wall first, and the 3D acoustic panels are then attached to the grid, ensuring that they remain perfectly aligned and flush. This approach works especially well in environments like studios, theaters, and offices, where precise panel alignment is crucial.
- Grid system: Install a metal or wooden frame/grid system onto the wall, ensuring it is level. Then, attach the polyester acoustic panels to the grid, which can accommodate the unevenness of the wall behind it.
6. Pre-Measure and Pre-Cut Panels for a Perfect Fit
Another option for handling wall irregularities is to pre-measure and pre-cut the PET acoustic panels before installation. This can be especially useful for areas where the wall is uneven in a more localized way, such as around windows, door frames, or other fixtures. By carefully measuring the space and customizing the size of the panels, you can ensure that the polyester acoustic panels will fit snugly, even on an uneven wall.
7. Consult with a Professional Installer
If the wall’s irregularities are particularly challenging to address, or if you’re uncertain about the best approach to take, it may be helpful to consult with a professional installer. Experienced installers can handle complicated wall issues, ensuring that your PET acoustic panels are installed correctly and securely.
Conclusion
In conclusion, installing PET acoustic panels, 3D acoustic panels, or polyester acoustic panels on uneven walls doesn’t have to be a daunting task. By assessing the condition of the wall, using spacers or shims, applying leveling compounds, or installing a grid system, you can achieve a smooth, professional-looking installation. Regardless of the wall’s condition, there’s a solution to ensure that your PET acoustic panels are securely mounted and provide the desired acoustic benefits and aesthetic appeal.
With these tips, you can handle any wall irregularities with confidence, making sure your installation is not only functional but also visually appealing.