

Replacing installed Akupanel, made from high-quality PET acoustic panels, is a straightforward process that can be completed with minimal effort. Whether you're upgrading your existing panels or simply changing the design, understanding the right steps ensures a smooth replacement while maintaining the integrity of the acoustic performance. Here’s a step-by-step guide to replacing your Akupanel, including 3D acoustic panels or polyester acoustic panels.
1. Prepare the New Panels
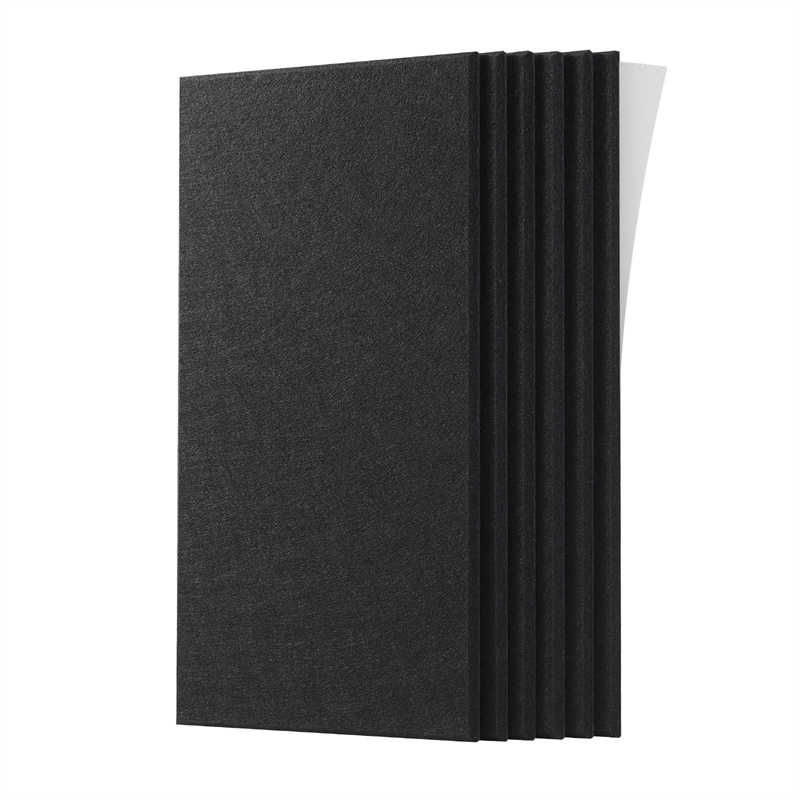
Start by selecting your new PET acoustic panels, ensuring they are the correct size and design for your space. If you are upgrading to a new style, like 3D acoustic panels, make sure they are compatible with the existing installation method.
2. Remove the Old Panels
Carefully detach the existing panels from the wall or ceiling. Most Akupanel installations use adhesive or clips for mounting. If adhesive was used, you may need a utility knife to gently lift the panels without damaging the wall surface. If clips were used, simply unclip the panels from their mountings.
3. Clean the Surface
Before installing the new panels, clean the surface to remove any adhesive residue, dust, or debris. A clean surface will ensure that your new polyester acoustic panels adhere properly or fit securely into place.
4. Install the New Panels
Depending on the installation method, either apply new adhesive to the back of the new PET acoustic panels or align them with the existing clips. For adhesive installation, ensure you apply the adhesive evenly across the surface of the panel to secure it in place. For clip installation, simply place the new panels onto the clips and ensure they are properly fixed.
5. Check Alignment and Finish
Once the new panels are installed, double-check their alignment. If you're using 3D acoustic panels, make sure the texture aligns properly to achieve the desired visual effect. This is especially important for achieving the acoustic benefits and aesthetic appearance.
6. Allow Adhesive to Set (if applicable)
If adhesive was used for installation, allow sufficient drying time to ensure the panels are fully secured before use.
7. Final Inspection
After installation, inspect the new panels for any imperfections and ensure that all edges are smooth and properly sealed. Check the acoustics of the space to ensure that the new polyester acoustic panels are providing the desired sound-absorbing effect.
Replacing your Akupanel with fresh PET acoustic panels or upgraded 3D acoustic panels is a simple way to refresh your space while continuing to enjoy the superior acoustics they provide. With easy installation and maintenance, Akupanel panels are the perfect long-term solution for noise reduction and stylish interior design.